Basics
Basic writing and formatting syntax
Create sophisticated formatting for your tech notes on Inkdrop with simple syntax.
This is intended as a quick reference and showcase. For more complete info, see John Gruber's original spec and the Github-flavored Markdown spec page.
Headings
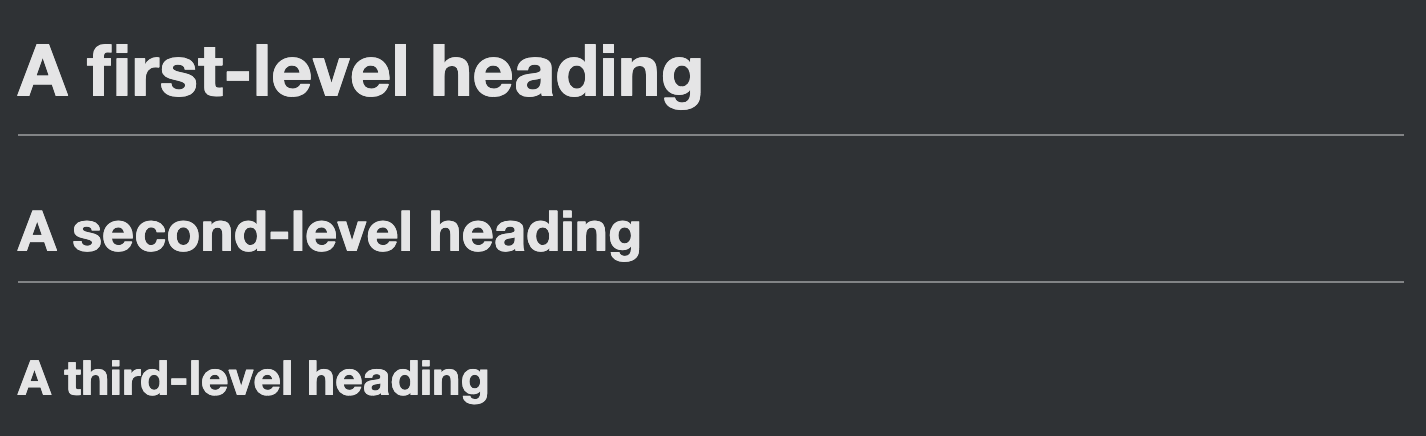
To create a heading, add one to six # symbols before your heading text. The number of # you use will determine the hierarchy level and typeface size of the heading.
# A first-level heading

## A second-level heading

### A third-level heading
Styling text
You can indicate emphasis with bold, italic, strikethrough, subscript, or superscript text in comment fields and .md files.
| Style | Syntax | Keyboard shortcut | Example | Output |
|---|---|---|---|---|
| Bold | ** ** or __ __ | Command+B (Mac) or Ctrl+B (Windows/Linux) | **This is bold text** | This is bold text |
| Italic | * * or _ _ | Command+I (Mac) or Ctrl+I (Windows/Linux) | _This text is italicized_ | This text is italicized |
| Strikethrough | ~~ ~~ | None | ~~This was mistaken text~~ | |
| Bold and nested italic | ** ** and _ _ | None | **This text is _extremely_ important** | This text is extremely important |
| All bold and italic | *** *** | None | ***All this text is important*** | All this text is important |
| Subscript | <sub> </sub> | None | This is a <sub>subscript</sub> text | This is a subscript text |
| Superscript | <sup> </sup> | None | This is a <sup>superscript</sup> text | This is a superscript text |
Quoting text
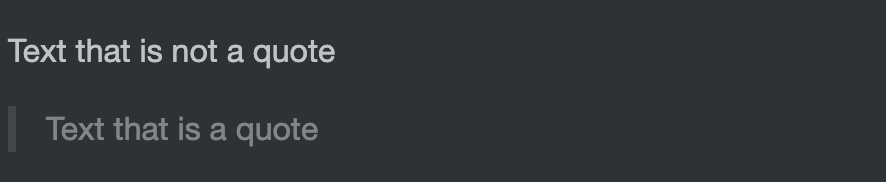
You can quote text with a >. You can also press the Command+' (Mac) or Ctrl+' (Windows/Linux) keyboard shortcut to toggle the lines for a block quote.
Text that is not a quote

> Text that is a quote
Quoted text is indented, with a different type color.
Quoting code
You can call out code or a command within a sentence with single backticks. The text within the backticks will not be formatted.
Use `git status` to list all new or modified files that haven't yet been committed.

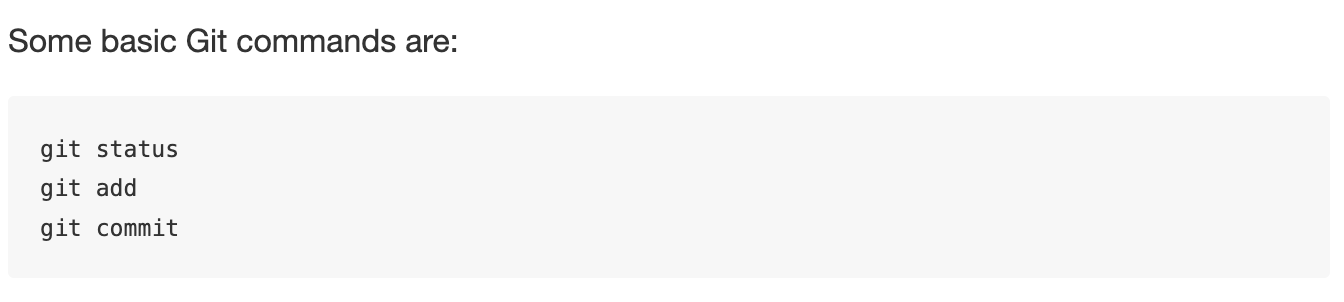
To format code or text into its own distinct block, use triple backticks.
Some basic Git commands are:
```
git status
git add
git commit
```
Syntax highlighting
You can add an optional language identifier to enable syntax highlighting in your fenced code block.
Syntax highlighting changes the color and style of source code to make it easier to read.
For example, to syntax highlight Ruby code:
```ruby
require 'redcarpet'
markdown = Redcarpet.new("Hello World!")
puts markdown.to_html
```
This will display the code block with syntax highlighting:

Links
You can create an inline link by wrapping link text in brackets [ ], and then wrapping the URL in parentheses ( ). You can also use the keyboard shortcut Command+K(Mac) or Ctrl+K(Windows/Linux) to create a link. When you have text selected, you can paste a URL from your clipboard to automatically create a link from the selection.
This note was written using [Inkdrop](https://www.inkdrop.app/).

Images
You can display an image by adding ! and wrapping the alt text in [ ]. Alt text is a short text equivalent of the information in the image. Then, wrap the link for the image in parentheses ().


Lists
You can make an unordered list by preceding one or more lines of text with -, *, or +.
- George Washington

* John Adams

- Thomas Jefferson

To order your list, precede each line with a number.
1. James Madison
1. James Monroe
1. John Quincy Adams

Nested Lists
You can create a nested list by indenting one or more list items below another item.
To create a nested list using the web editor on GitHub or a text editor that uses a monospaced font, you can align your list visually. Type space characters in front of your nested list item until the list marker character (- or *) lies directly below the first character of the text in the item above it.
1. First list item
   - First nested list item
     - Second nested list item
You can indent or dedent one or more lines of text by first highlighting the desired lines and then using Tab or Shift+Tab respectively.

For more examples, see the GitHub Flavored Markdown Spec.
Task lists
To create a task list, preface list items with a hyphen and space followed by [ ]. To mark a task as complete, use [x].
- [ ] Checkbox
- [x] Task

Using emoji
If you would prefer using GitHub-style emojis, then install markdown-emoji plugin. It allows you to add emoji to your writing by typing :EMOJICODE:, a colon followed by the name of the emoji.
:white_check_mark: I've finished working on this feature. It's ready to merge! :tada:

For a full list of available emoji and codes, see the Emoji-Cheat-Sheet.
Paragraphs
You can create a new paragraph by leaving a blank line between lines of text.
Line Breaks
To create a line break or new line (<br>), end a line with two, more spaces or a backslash (\), and then type return.
This is the first line.
And this is the second line.\
Footnotes
You can add footnotes to your content by using this bracket syntax:
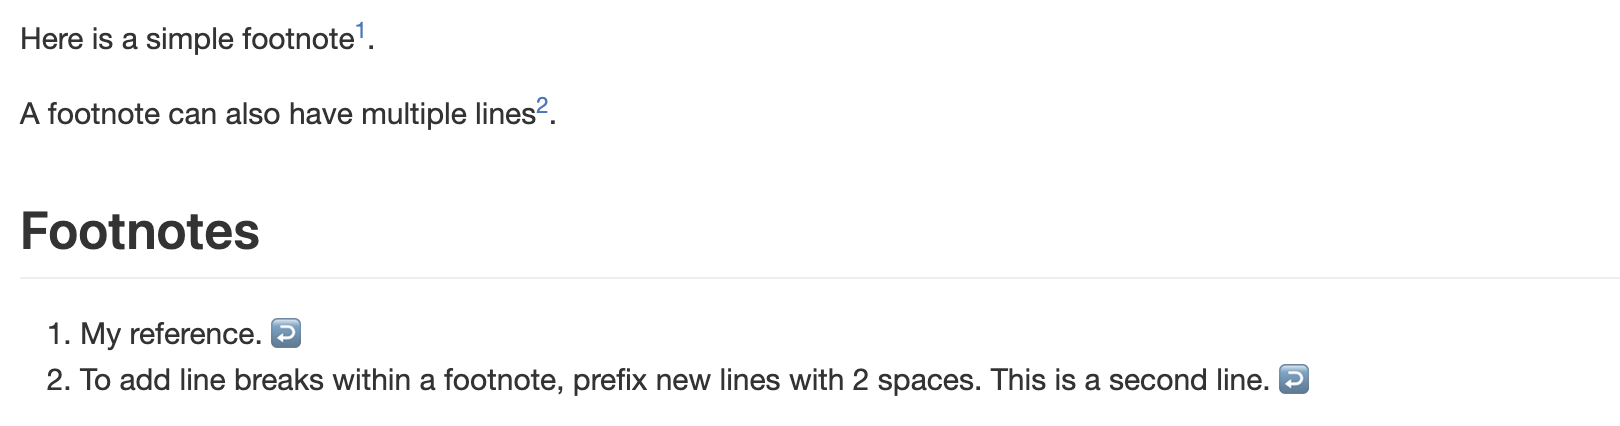
Here is a simple footnote[^1].

A footnote can also have multiple lines[^2].

[^1]: My reference.
[^2]: To add line breaks within a footnote, prefix new lines with 2 spaces.
  This is a second line.
The footnote will render like this:
Note
The position of a footnote in your Markdown does not influence where the footnote will be rendered. You can write a footnote right after your reference to the footnote, and the footnote will still render at the bottom of the Markdown.
Footnotes are not supported in wikis.
Hiding content with comments
You can tell Inkdrop to hide content from the rendered Markdown by placing the content in an HTML comment.
<!-- This content will not appear in the rendered Markdown -->
Ignoring Markdown formatting
You can tell Inkdrop to ignore (or escape) Markdown formatting by using \ before the Markdown character.
Let's rename \*our-new-project\* to \*our-old-project\*.

Tables
GFM enables the table extension, where an additional leaf block type is available.
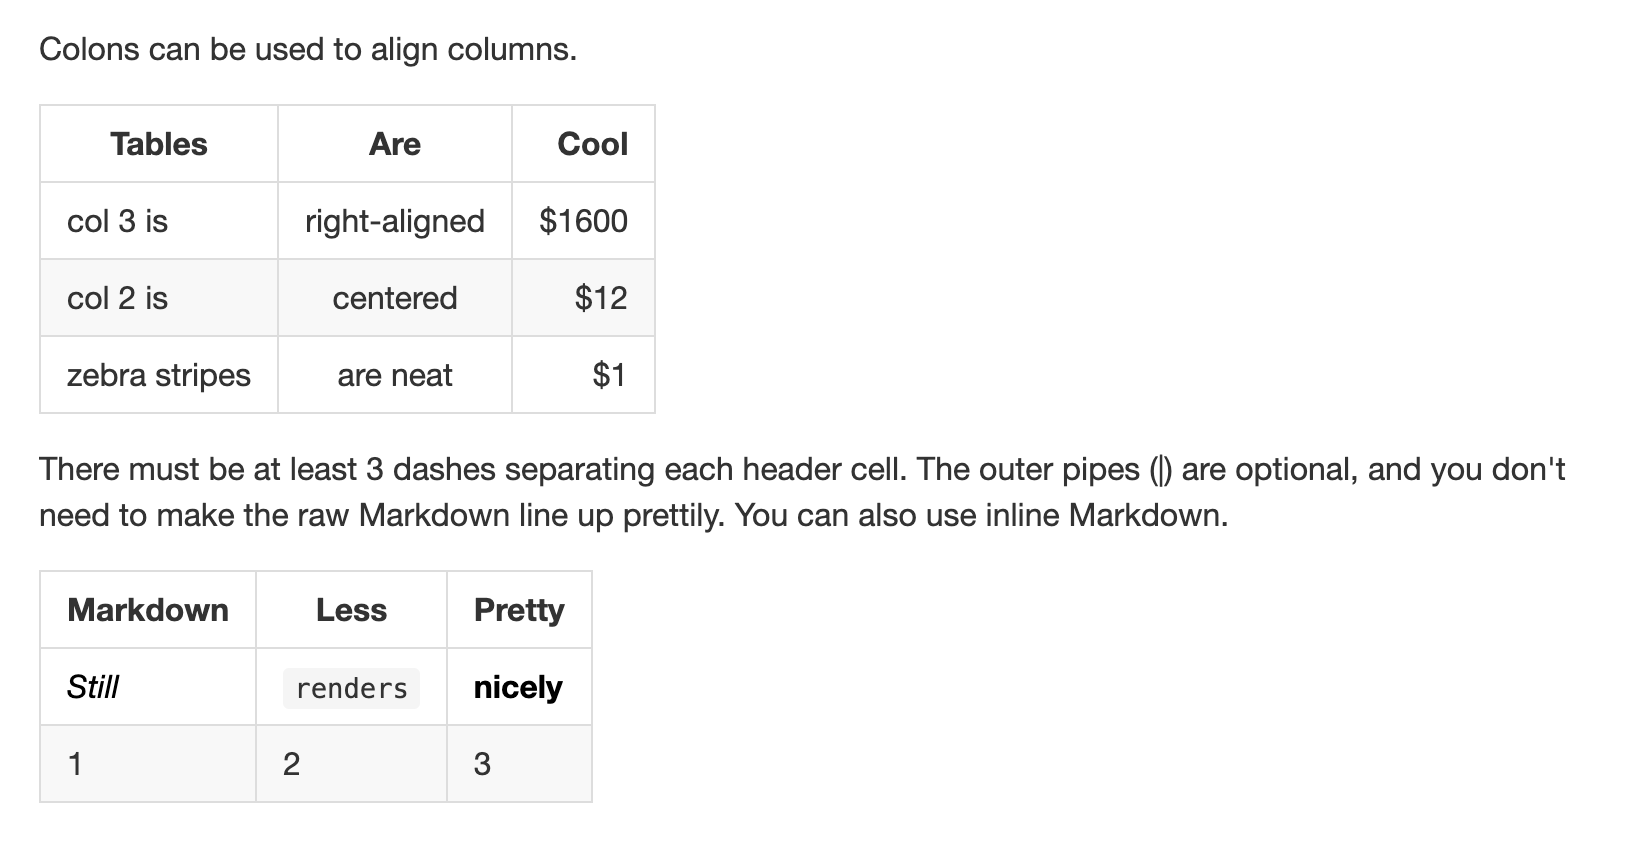
Colons can be used to align columns.

| Tables        |      Are      |  Cool |
| ------------- | :-----------: | ----: |
| col 3 is      | right-aligned | $1600 |
| col 2 is      |   centered    |   $12 |
| zebra stripes |   are neat    |    $1 |

There must be at least 3 dashes separating each header cell.
The outer pipes (|) are optional, and you don't need to make the
raw Markdown line up prettily. You can also use inline Markdown.

| Markdown | Less      | Pretty     |
| -------- | --------- | ---------- |
| _Still_  | `renders` | **nicely** |
| 1        | 2         | 3          |
Here are the rendered tables:
This cheatsheet is written based on GitHub's documentation.
Get help