Note organization
Organize notebooks

One of the ways to think about notebooks is like separate projects. Every notebook covers a specific topic and can be divided into sub-notebooks. Every (sub)notebook has a list of notes, and every note can have tags and statuses. When the number of notebooks or their content grows, notebooks management can become a nightmare. Inkdrop lets you gracefully organize the notebooks, declutter your workspace, and display the information that belongs to a specific notebook.
Use your sidebar
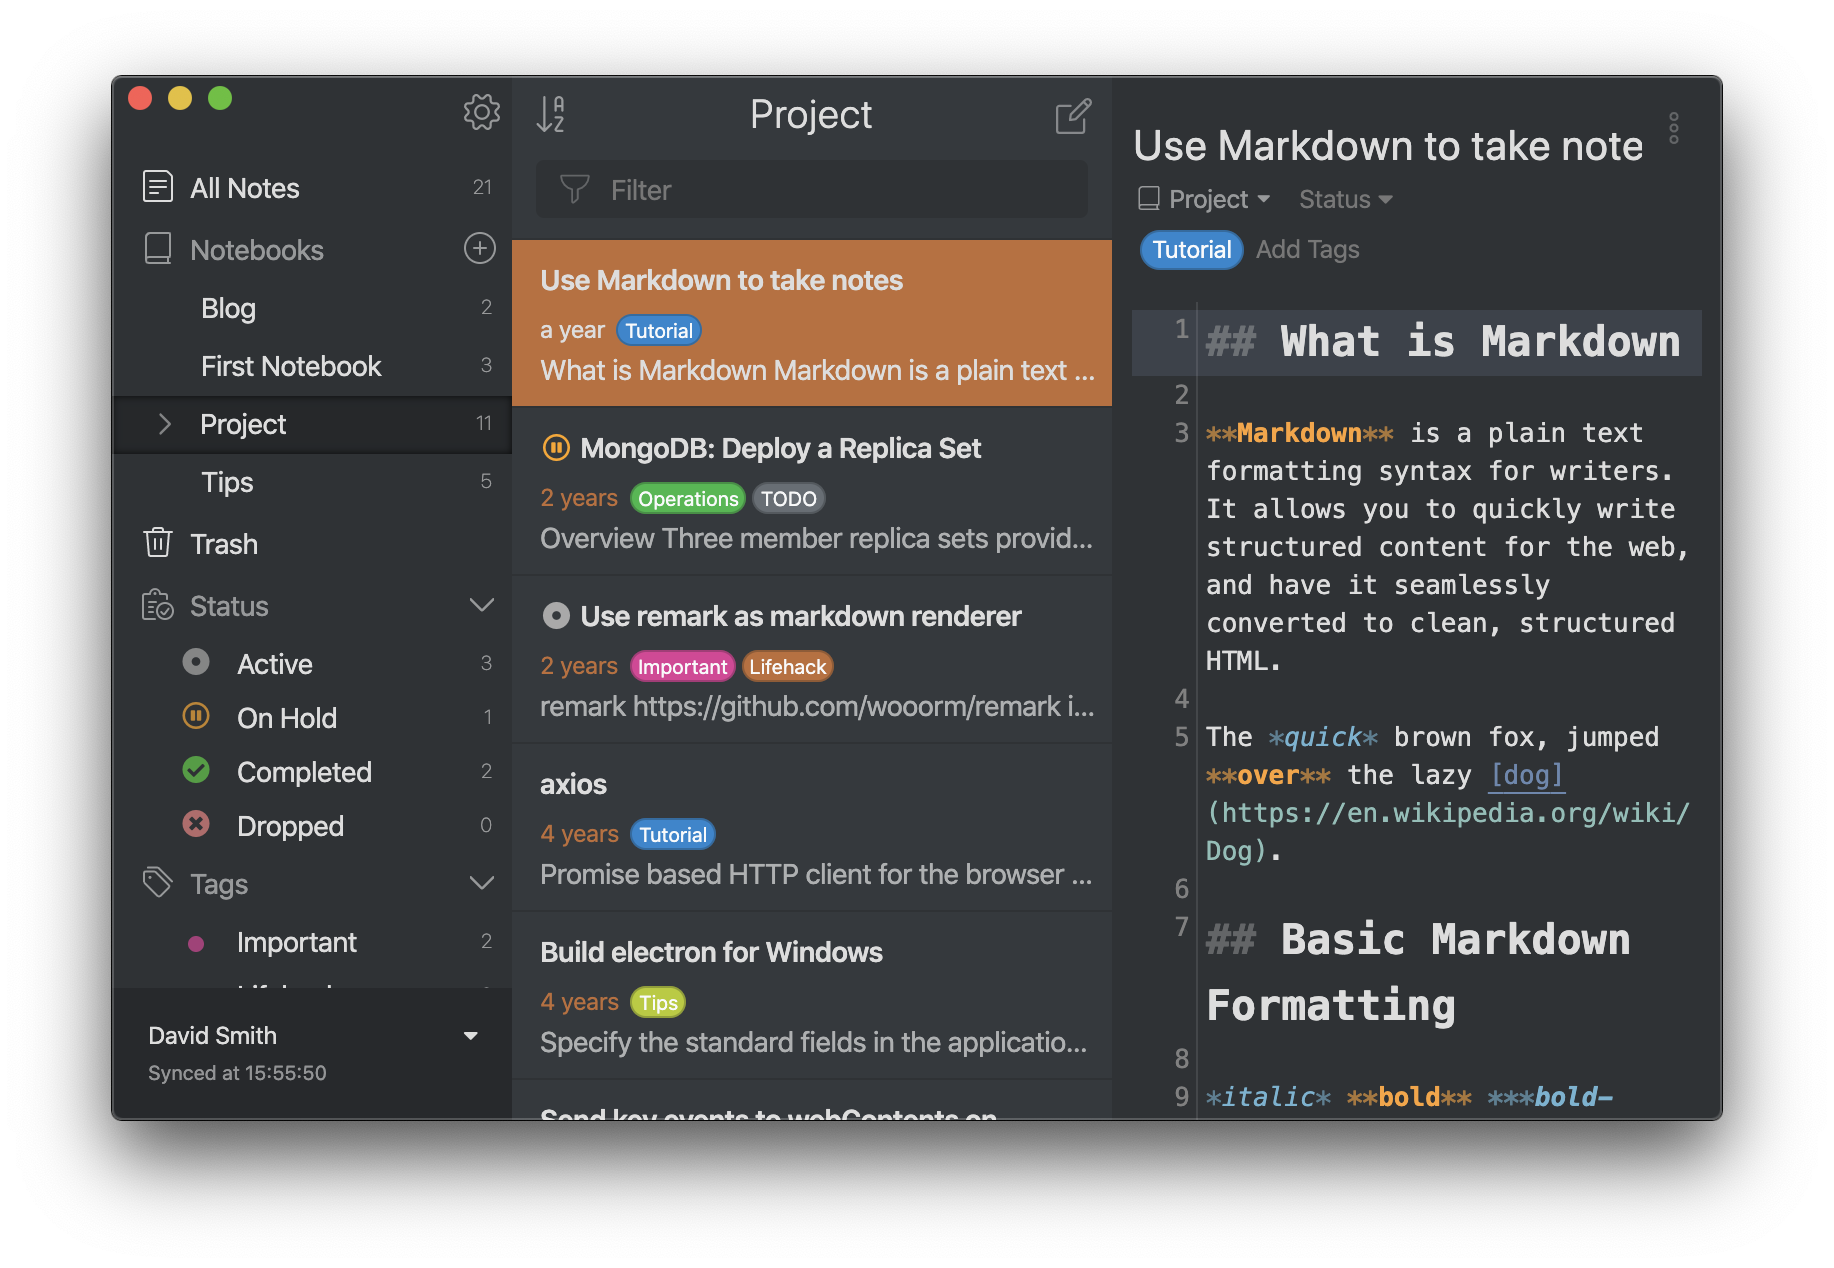
The sidebar is the leftmost section of the app. it displays a tree view of notebooks. Each notebook item has a number badge on the right side that indicates the number of notes in the notebook. If a notebook has sub-notebook(s), it has a triangle icon on the left side that you can click to expand or collapse the notebook.
Add a notebook
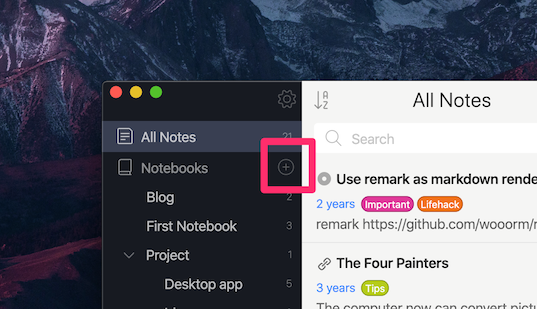
To create a new notebook, click the icon next to the Notebooks title:
To create a sub notebook:
- Right-click the notebook, which will be the parent, and select New Sub Notebook...
- Provide a title for the nested notebook.
- Click Create.
The newly created notebook will appear inside the parent one.
To create a new note, you can either click the icon on the right top of the note list or use the Command+N / Ctrl+N shortcut.
Configure the default notebook
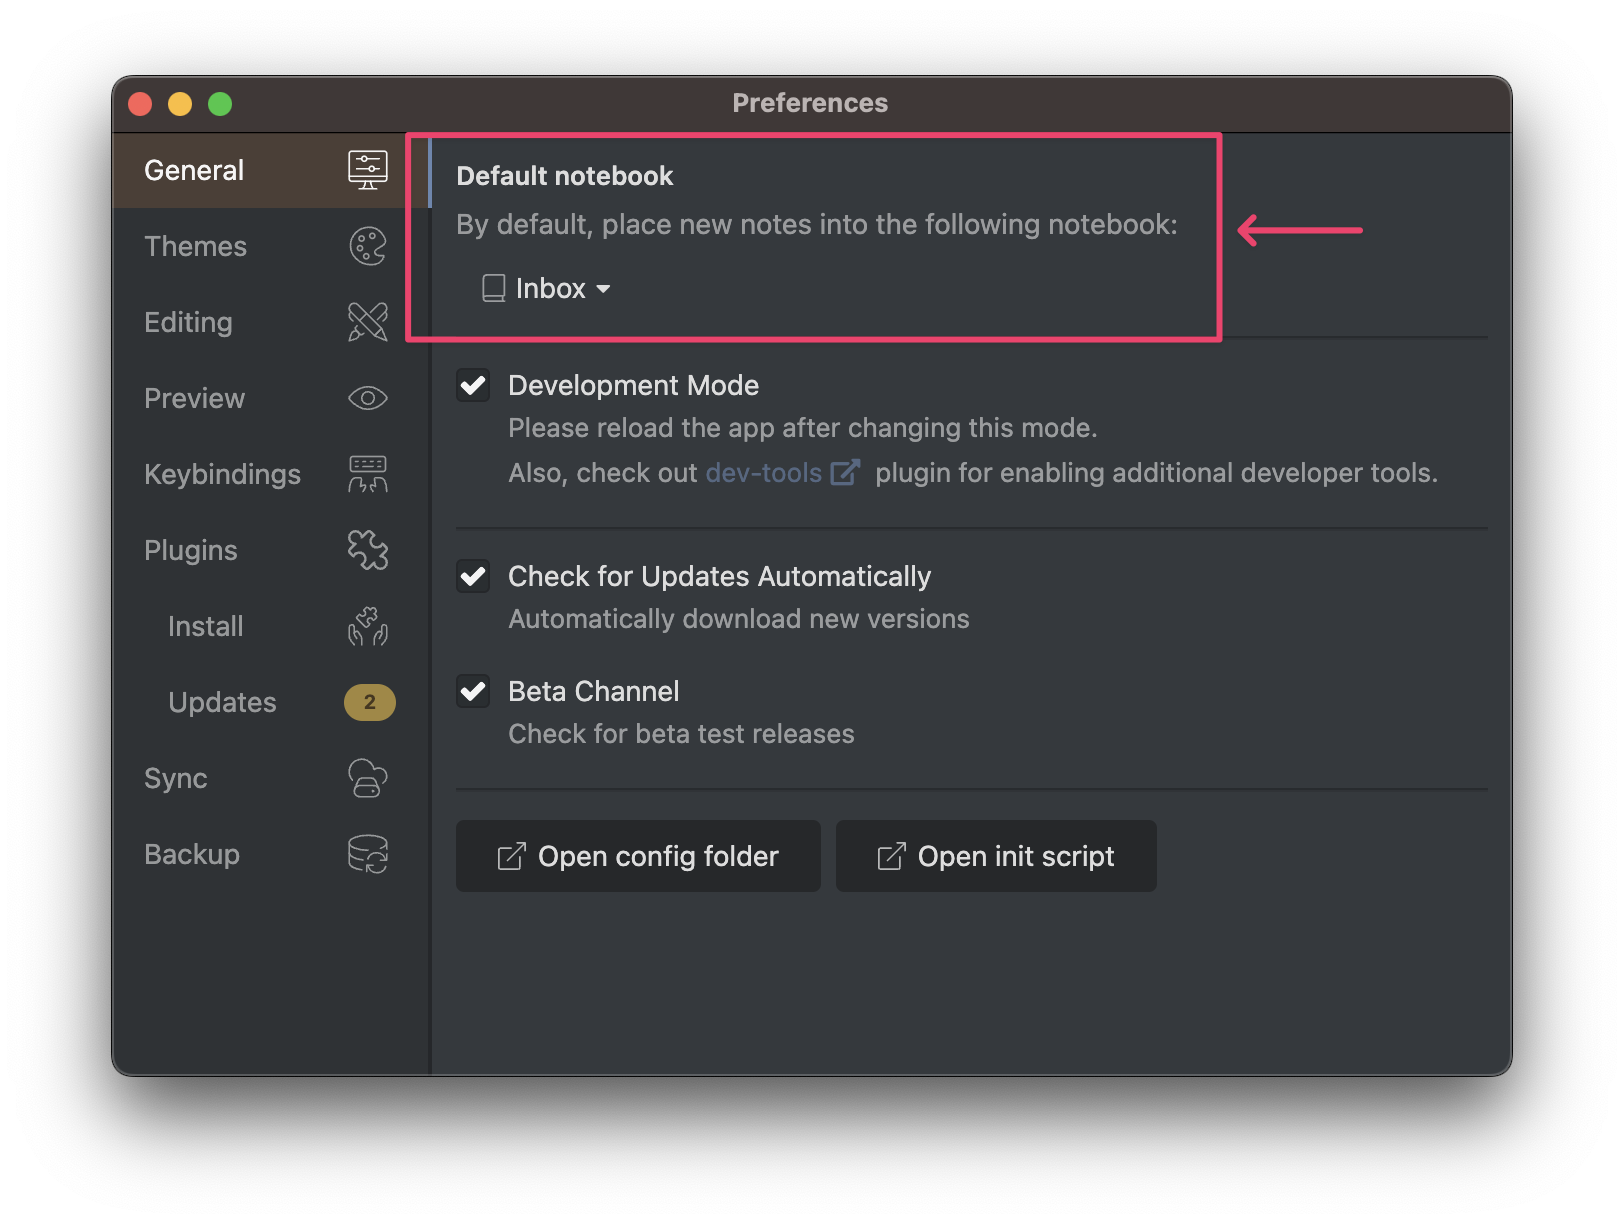
When creating a new note in the All Notes section, it will be created in the default notebook. You may want to change it after creating notebooks. It can be changed from Inkdrop > Preferences > General > Default notebook.
View notebook-specific notes
To view the notes belonging to a specific notebook:
- Click next to the notebook's title.
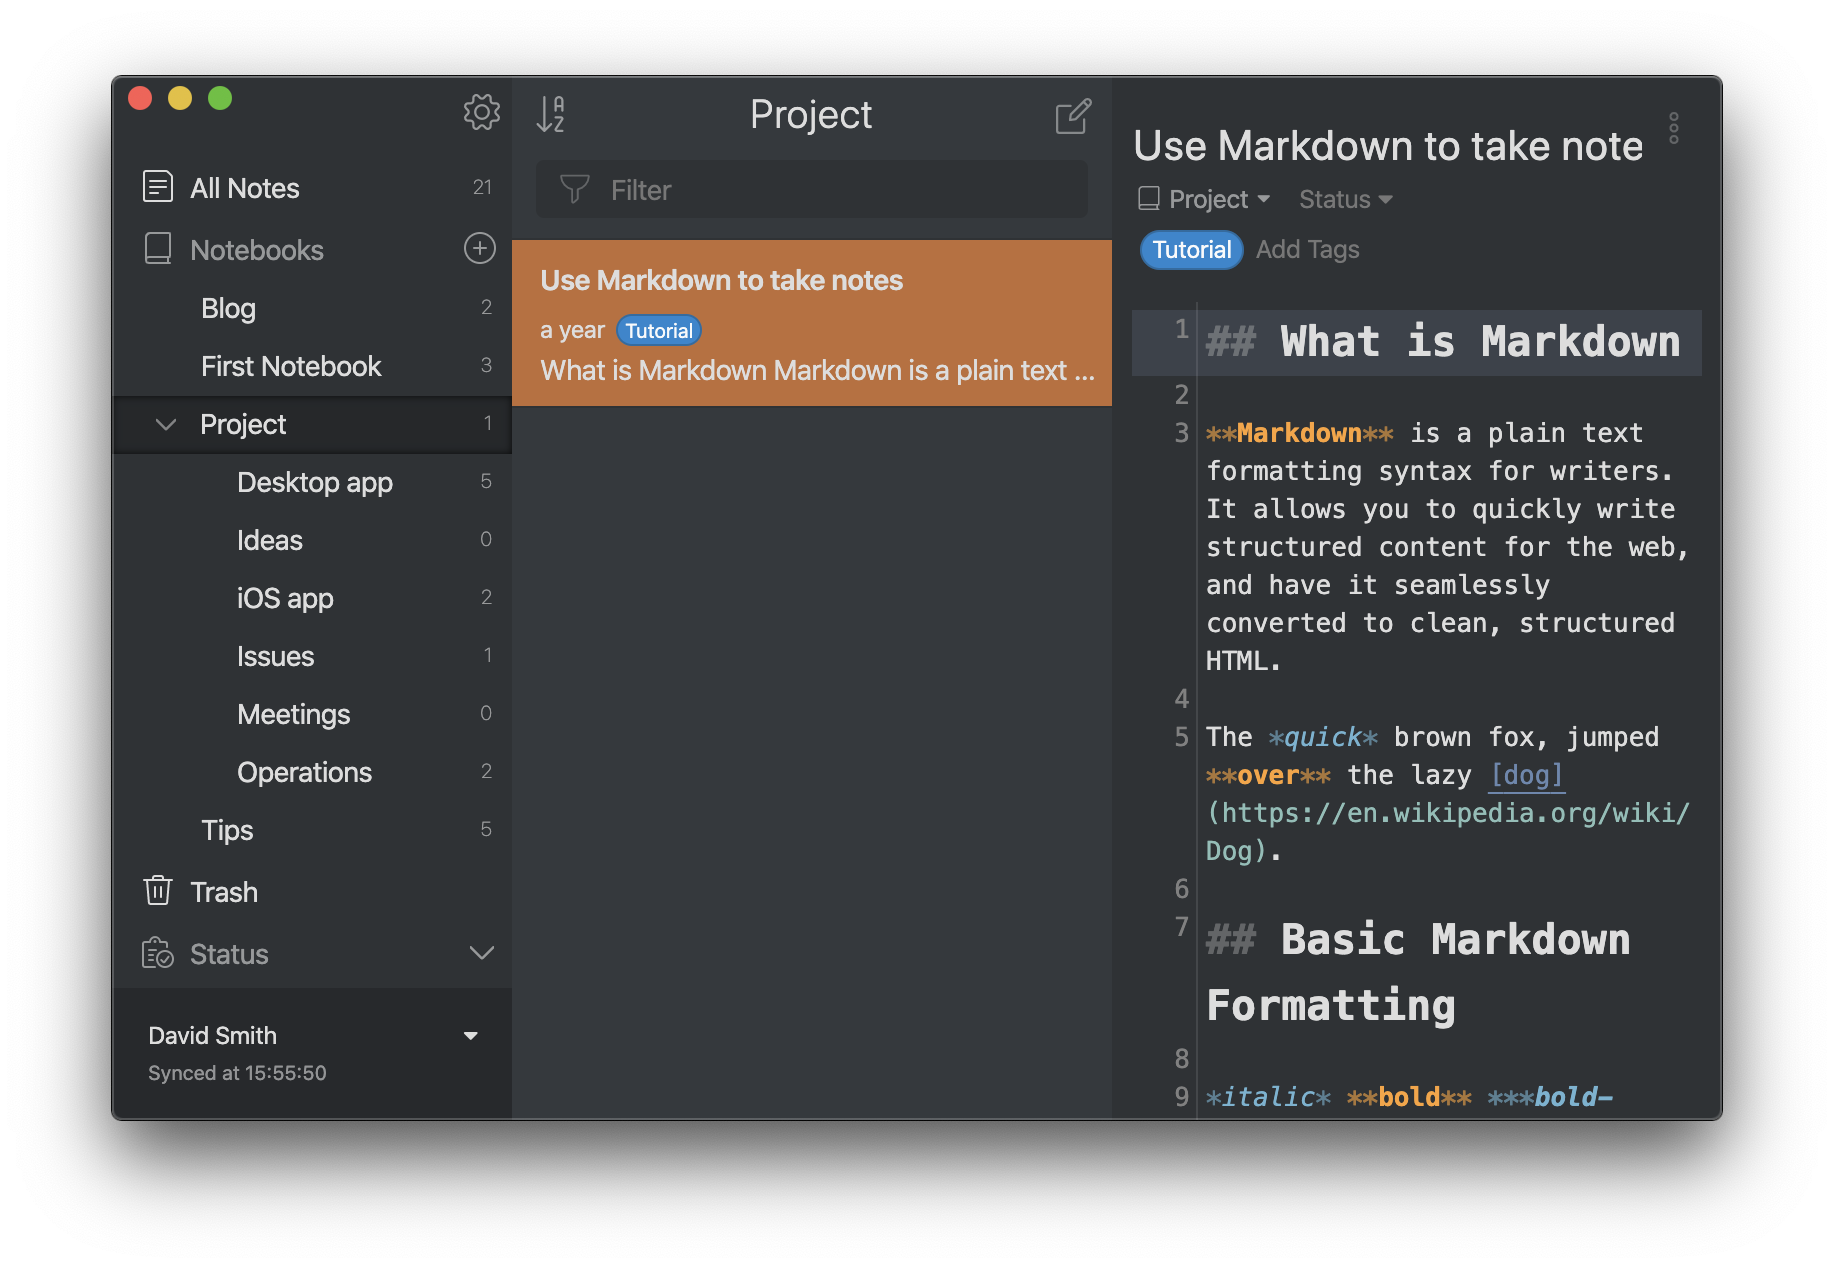
When a notebook is expanded, the note list shows the notebook's direct notes. The Project notebook in the image below has only one note.
When a notebook is collapsed, the note list shows direct notes from the collapsed notebook and all of its sub-notebooks.
View notebook-specific statuses and tags
By default, the sidebar shows all notebooks, statuses, and tags fetched from the database. They're mixed together, and it can be challenging to understand which entity belongs to which notebook.
To display entities of a specific notebook:
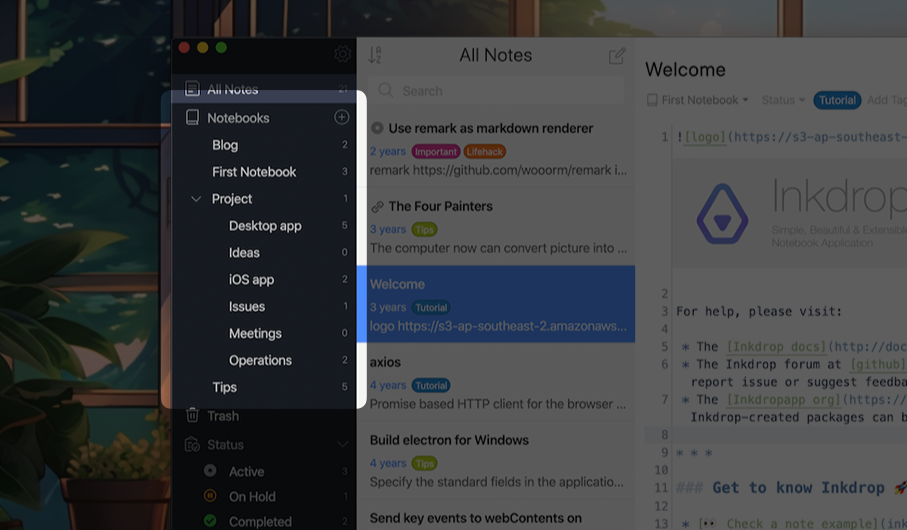
- Hover over the notebook and click Detail next to its name. You can also open a notebook and press Enter.
The sidebar only shows sub-notebooks, statuses, and tags of the selected notebook so you can focus on specific information.
Mobile
To display notebook-specific entities on a mobile device:
- Select the icon next to the notebook.
The sidebar shows entities specific to the selected notebook.

Get help