Customization
Note synchronization
Inkdrop lets you sync notes across multiple computers via Cloud. By default, Inkdrop stores your data in Inkdrop sync server. You can configure synchronizations in the Preferences window like this:

There are three sync options:
- Don't Sync - Store Inkdrop data only in your local computer
- Inkdrop Sync Server - Sync with Inkdrop's own service
- Advanced (CouchDB) - Sync with your own compatible server
How to Set Up Your Own Sync Server
Inkdrop lets you store your notes in your own database compatible with CouchDB API instead of Inkdrop's own service. CouchDB is just another open-source NoSQL database so you can deploy it on your environment for free. See CouchDB's installation guide for more informations. Using DBaaS instead of operating database by yourself is good choice. For instance, Cloudant is one of fully-managed DBaaS providers.
Use this feature at your own risk. Inkdrop itself doesn't protect data from other people on your server. To protect your data, read Security section at the bottom of this page.improvements.
Create a database
Once you got your CouchDB server, let's create a database for storing your notes. You need only one database for Inkdrop. For example, run below command to create a database:
> curl -X PUT http://localhost:5984/my-inkdrop-notes
Note
If you are running CouchDB not on localhost and port 5984 (default), replace localhost:5984 to your server address and port.
Retrieving the list of databases shows some useful results this time:
> curl -X GET http://127.0.0.1:5984/_all_dbs
["my-inkdrop-notes"]
Return to the Inkdrop sync preferences, you can input the URL to your database to the Address section:
http://localhost:5984/my-inkdrop-notes
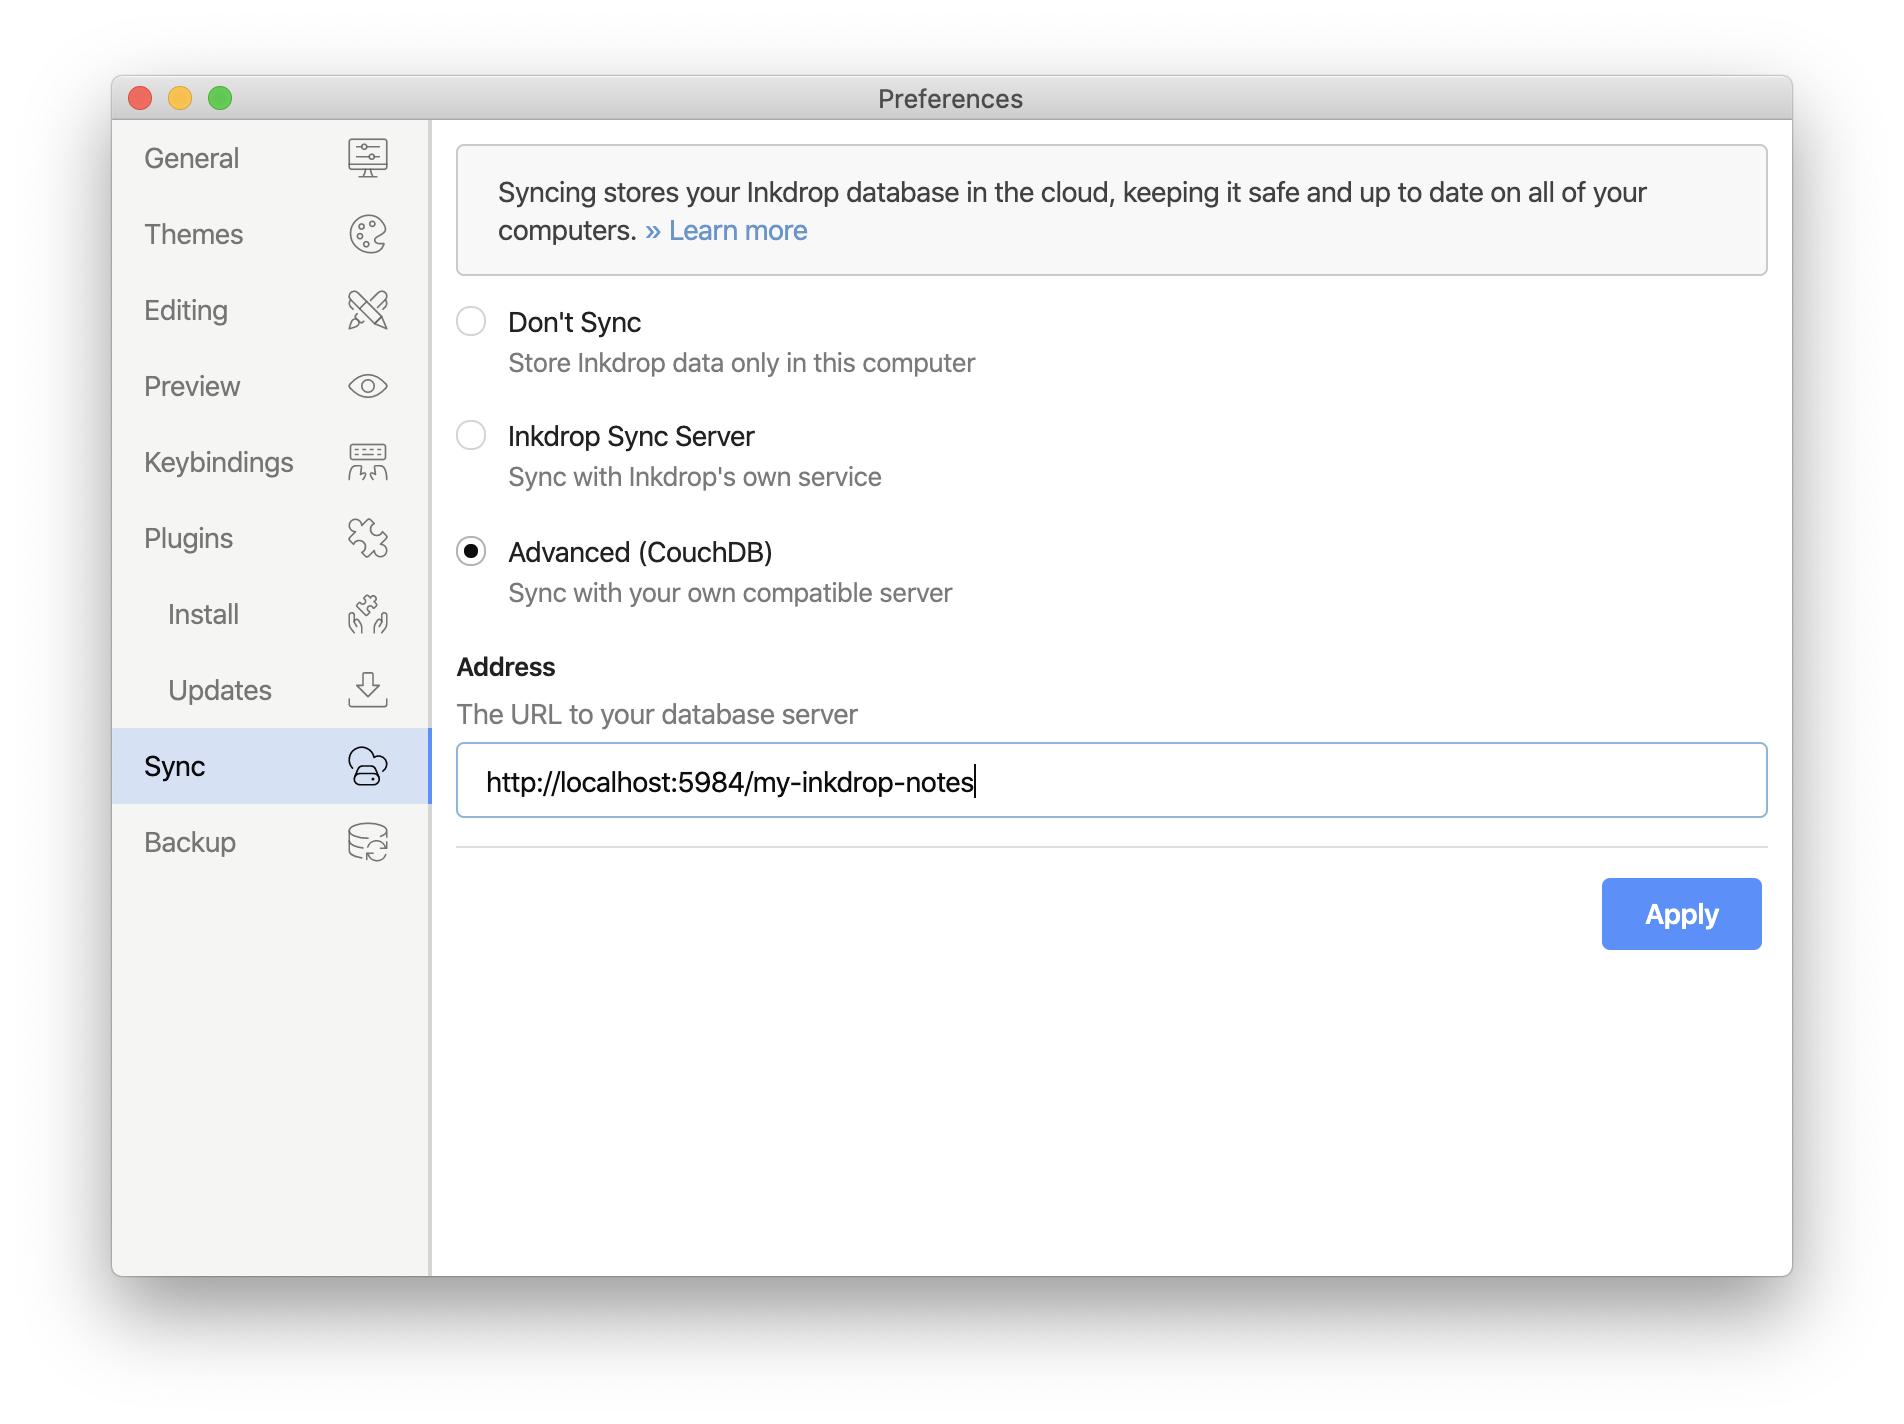
Then, push the Apply button.
Please read CouchDB's tutorial for more information.
Configure security
As you may know, CouchDB is running with the Admin Party by default. It means Everybody has privileges to do anything. Please read the CouchDB's documentation. To keep your notes secure, we recommend that you create an admin user with a username and password as your credentials.
Now let’s create an admin user. We’ll call her anna, and her password is secret:
> curl -X PUT http://127.0.0.1:5984/_config/admins/anna -d '"secret"'
Now we have an admin user named anna, let's give her an admin access to my-inkdrop-notes:
> curl -X PUT http://127.0.0.1:5984/my-inkdrop-notes/_security -d '{ "admins": { "names": [ "anna" ] } }'
It restricts access from people without the valid credentials:
> curl -X PUT http://127.0.0.1:5984/my-inkdrop-notes
{"error":"unauthorized","reason":"You are not a server admin."}
That looks about right. Now we try again with the correct credentials:
> HOST="http://anna:secret@127.0.0.1:5984"
> curl -X PUT $HOST/my-inkdrop-notes
{"ok":true}
Looks good!
Return to the Inkdrop sync preferences, you can input the URL to your database to the Address section:
http://anna:secret@127.0.0.1:5984/my-inkdrop-notes
Please don't omit the port number.
Enable SSL
If you would like to make your database accessible to the public, we encourage you to configure SSL. CouchDB provides SSL by default but it's not recommended since there's a problem with the replication with clients. We recommend nginx as a reverse-proxy server. Your configuration will look like:
server {
  listen 6984;
  ssl on;
  ssl_certificate /path/to/fullchain.pem;
  ssl_certificate_key /path/to/privkey.pem;
  ssl_protocols TLSv1.1 TLSv1.2 SSLv3;
  ssl_session_cache shared:SSL:1m;

  server_name ***;

  location / {
    proxy_pass http://localhost:5984;
    proxy_redirect off;
    proxy_set_header Host $host;
    proxy_set_header X-Forwarded-For $proxy_add_x_forwarded_for;
    proxy_set_header X-Forwarded-Ssl on;
  }

  location ~ ^/(.*)/_changes {
    proxy_pass http://localhost:5984;
    proxy_redirect off;
    proxy_buffering off;
    proxy_set_header Host $host;
    proxy_set_header X-Forwarded-For $proxy_add_x_forwarded_for;
    proxy_set_header X-Forwarded-Ssl on;
  }
}
Your server URL would be like so:
https://anna:secret@your-server.com:6984/my-inkdrop-notes
Note
You can neither create design documents nor add attachments on the Inkdrop-hosted database.
Support mobile sync
If you would like to sync your custom database with the mobile app, please create a design document on your database:
{
  "_id": "_design/mobile",
  "filters": {
    "sync": "function (doc) { return doc._id.indexOf('file:') === -1 }"
  }
}
Also, please don't forget your server to enable SSL because iOS requires it for App Transport Security.
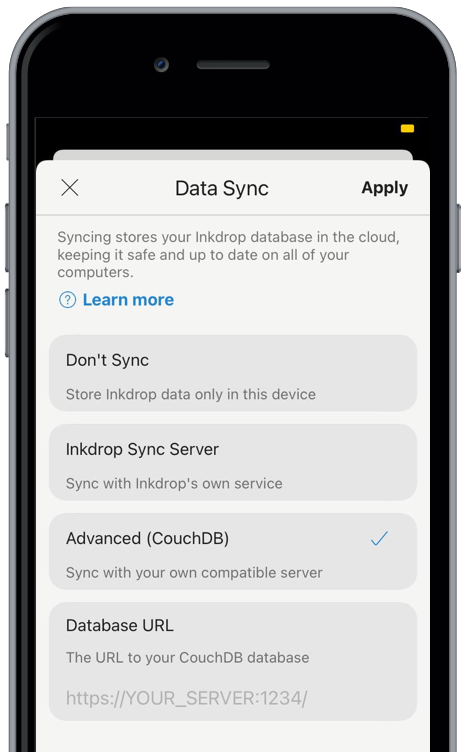
To configure the mobile app to sync with your database:
- Go to Preferences → Synchronization
- Select Advanced (CouchDB)
- Input your database URL to the input field at the ADDRESS section.
- Press Apply button
Debugging the database connections
If the app won't sync with the database, there are two ways to debug the issue:
Get help